Users & Groups Management

Top  Previous  Next

User Options


The system allows you to work with users who are enrolled into your course. There are two modes for users management which can be toggled by the Administrator. One of them is Global and the other one is Local. It is only possible to select User groups mode when you are in the administrator interface (Back-end). When the Global mode is selected in the Back-end, it is possible to view and manage a list of course users in the Front-end. When the Local mode is selected in the Back-end, it is possible to view and manage a list of course usergroups in the Front-end.


Global Mode


This mode allows Teachers to add, delete users and teacher assistants, and edit users. Group management is available for the Administator in Back-end only (the Administrator can create and define a group for a user).


To view the course users enter the necessary course and cllick on the Users&Groups Management icon () in the left course menu.


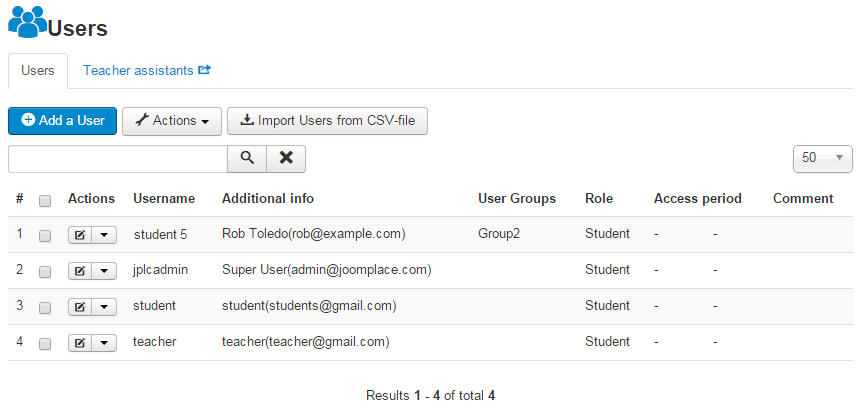
Fig. 'Course Users List'


Here all the course users are displayed. It's possible to use the Dispaly# filter to define the number of users to be shown on the page. If some users have a group then you can filter users according to groups. Now you can add, delete and edit a user or  manage teacher assistants.


Teacher Assistants Management


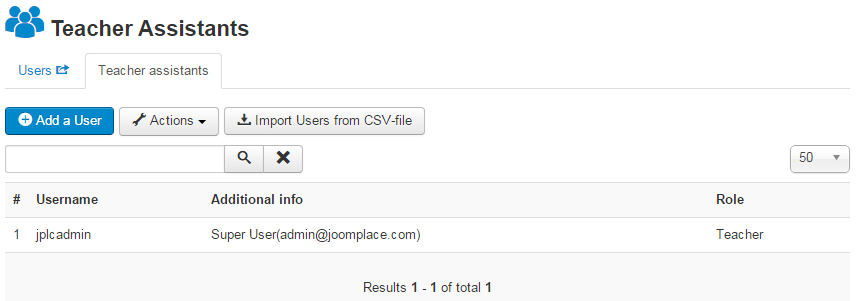
The course Teacher can add or delete teacher assistants.


To add a teacher assistant:


1.Enter the course and click the  Users&Groups Management icon () in the course menu.
2.Open the Teacher assistants () tab above the the Users' list. A list of assistants will be shown.


Fig. 'Teacher Assistants List'


3.Click the Add a User () button at the top of the list. From the opened list select users you want to be assistants. If required use the Search option.


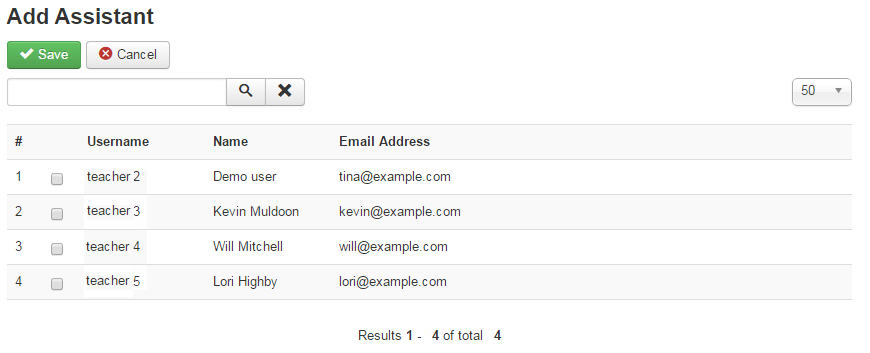
Fig. 'Teacher Assitant Adding'


4.Click on the Save () button to add a user otherwise click Cancel ().


To manage assistants use Actions () button at the top of the list.


Adding a New User


Teachers can add new users to courses. There are two ways to do it:


You can select from the list of users registered on the web site, or
You can upload a CSV file with the list of users (in this case users do not have to be registered on the web site: when the uploading is finished, users will be both registered on the web site and subscribed to your course). CSV file can be created while exporting users from JoomlaLMS courses or other LMS courses.


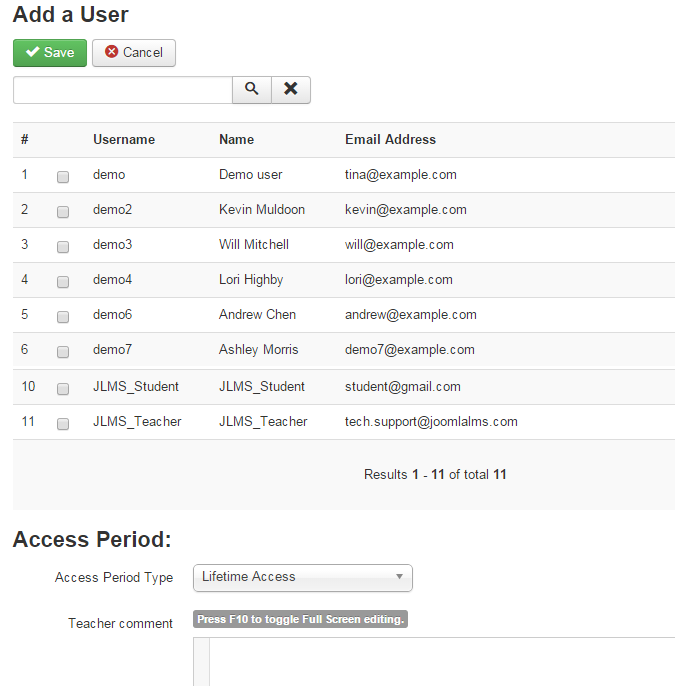
To add a user from the list of already registered people on the web site:


1.Enter the course and click the  Users&Groups Management icon () in the course menu.
2.Click on the Add a user () button at the top of the list. Then a list of users will be opened:


Fig. 'Adding a User'


3.Find a user in the list or use the Search option and check the corresponding box.
4.Specify the Access period: Lifetime, Date_to_Date, X days access periods are available.
5.Enter some description if necessary.
6.Click on the Save () button to add a user otherwise click Cancel ().


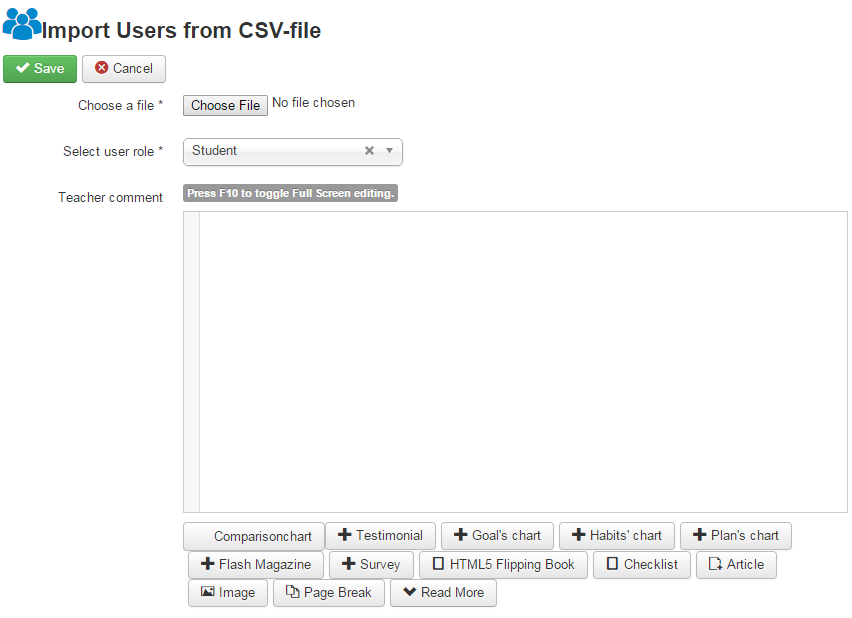
To upload a CSV file with the list of new users:


1.Enter the course and click the  Users&Groups Management icon () in the course menu.
2.Click on the Import users from CSV-file () button at the top of the list:


Fig. 'Uploading User from a CSV file'


3.Click Browse to specify location of a CSV file on your computer.
4.In the Teacher comment field enter any description or comment text. Use the embedded Visual Editor to format description.
5.When finished, click Save () button to add a user otherwise click Cancel ().


Users from the uploaded file will be automatically registered on the web site and subscribed to your course.


Note: The CSV file should have the following structure to be integrated to JoomlaLMS:

username,name,email,password
Sam,Sam,sam.powter@gmail.com,userpassword
Column password is not mandatory.


To manage users use Actions () button at the top of the list.


Local Mode


Local mode gives Teachers the possibility to manage both groups and users.


Groups Management


To view the existing groups click on the Users&Groups Management icon () in the course menu.


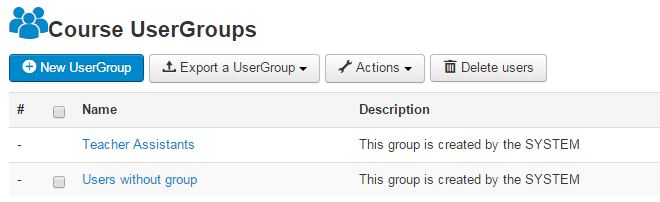
Fig.'List of User Groups'


Each Student enrolled into your course or course Assistant belongs to a certain group. By default for each course the system creates two user groups: Teacher assistants and Users without group. When a new Student is enrolled into the course, s/he is added to the group called Users without group. Later on the Teacher can create new groups and move Students to the necessary one.

Use buttons at the top of the list to manage course groups.


Creating User Groups


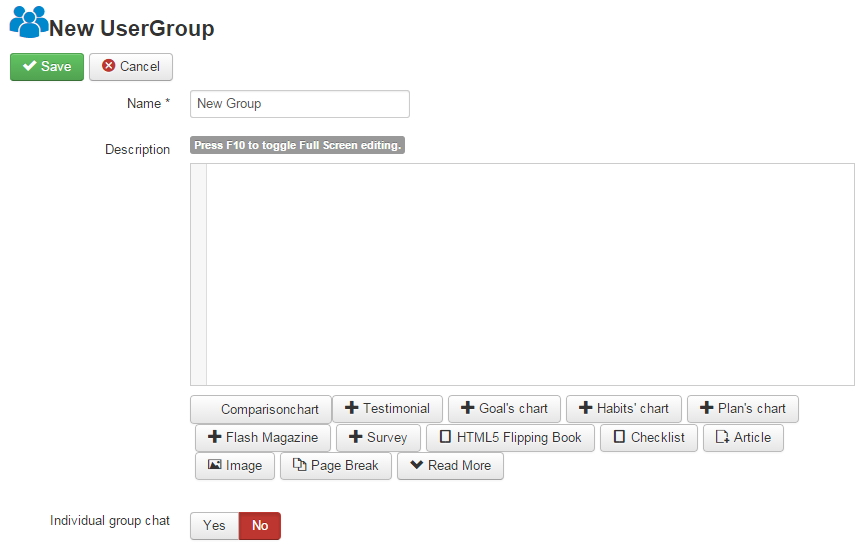
To create a new user group:

1.Enter the necessary course and click the Users & Groups Management icon () in the left course menu. The system will display a list of available user groups.
2.Click the New UserGroup icon () at the top of the list. The following page will appear:


Fig.'Creating a User Group'


3.Fill in the form fields.
4.When finished, click Save () button to add a user group, otherwise click Cancel ().


To manage user groups use Actions () button at the top of the list.


Exporting User Groups


If you want to export user groups to a local computer select a group from the list by marking a corresponding check box. Then click on the Export a UserGroup button () at the top of the groups list. You will be proposed to open the file or to save it to a disk. Save it to a disk.

This option can be used for deleting users too, in order that later you could add them to other courses if required.


Users


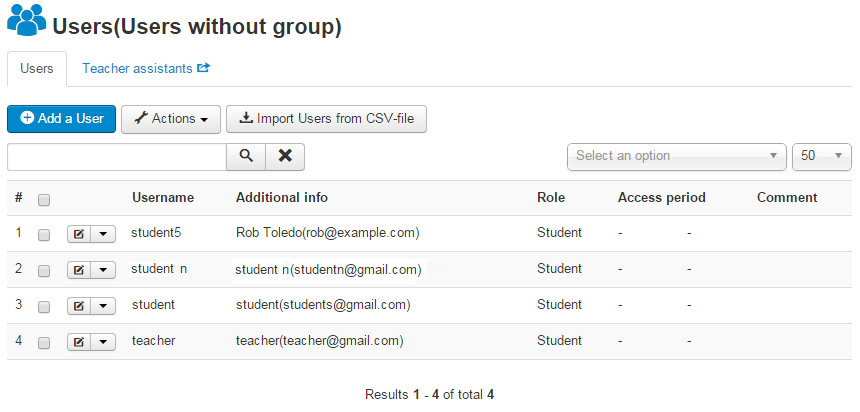
The Teacher can add users (course Assistants or Students) to their course. Assistants management is the same as for the Global mode.

The system allows you to modify users’ details or delete (unsubscribe) them from the course.

To work with the list of course users:

1.Enter the necessary course and click the Users & Groups Management icon () in the left course menu. The system will display a list of available user groups.
2.Choose the required user group from the list and click its name link. A list of users belonging to the chosen group will appear:


Fig. ‘List of Users’


Use Actions () button at the top of the list to manage users of the group.


Tip: To provide better viewing representation, you can sort out the list of users:

Use the Display # list at the top of the page to define how many user records should be shown per page.
To display users belonging to another user group, select the required group from the list at the top.


Users Management


There is no big difference in Global and Local modes as far as users management is concerned.


The same two ways for adding users for the course are used in the Local mode:

A.You can select from the list of users registered on the web site, or
B.You can upload a CSV file with the list of users (in this case users do not have to be registered on the web site: when the uploading is finished, users will be both registered on the web site and subscribed to your course). (See Adding a New User topic in the Global mode section.)


Deleting users is carried out using the same as in the Global mode method too. (See Deleting a User topic in the Global mode section.)


When editing users in the Local mode one more option is added. It's possible to move students from the Users without group list to any group created by the course Teacher.


If you have any questions or suggestions regarding our help documentation, please post them to our ticket system.