|
For better organization of the learning process the system allows you to organize webinars. They are arranged based on GoToMeeting platform, which allows up to 100 attenders with screen sharing, video and audio conferencing.
JoomlaLMS and GoToMeeting integration allows webinars scheduling within LMS and user access directly from the course page. Scheduling date, time and attendance emails are sent to GoToMeeting to create a class session. Then, the session data is forwarded back and is depicted in your course catalog so students can see it and register for it. GoToMeeting platform is mobile compatible what means more students can attend your conference while they are on the go.
To be able to use this tool, user should configure the JoomlaLMS-GoToMeeting integration first.
Please follow the steps below to configure the JoomlaLMS-GoToMeeting integration:
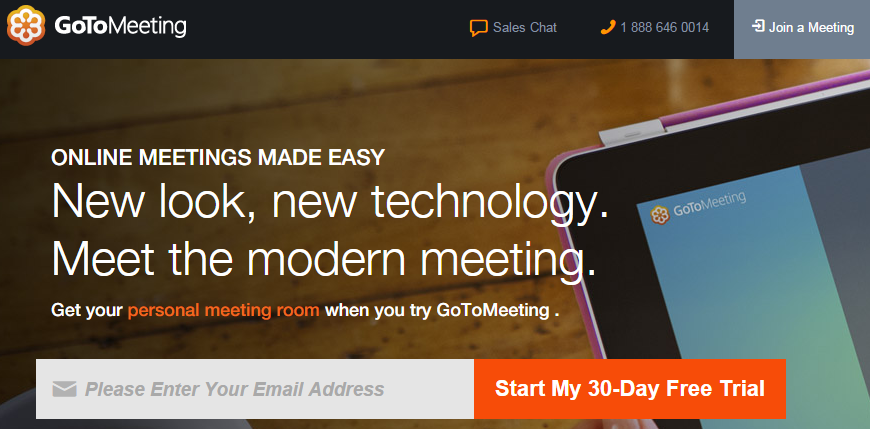
| 1. | Register a free trial or paid account at GoToMeeting Website and specify the number of organizers upon the registration. |
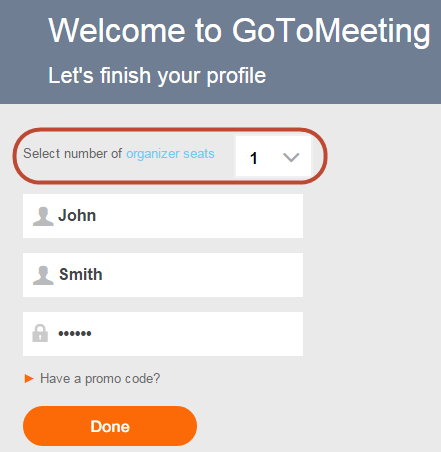
Note: An organizer is a teacher account which allows a teacher to organize and schedule webinars in JoomlaLMS courses. If you need to organize several webinars at the same time (even in different JoomlaLMS courses) then it is necessary to register several organizers. If you only have one organizer then this teacher won't be able to schedule several webinars at the same time even in different courses and an error message will be displayed.
|
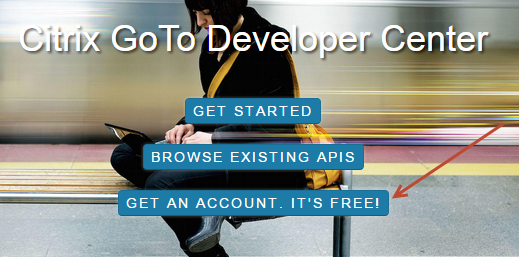
| 3. | Log in and go to My Apps: |
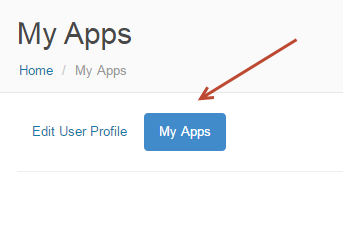
| 4. | Click Add a new App to create a new application for your GoToMeeting. Select Product API according to the version of GoToMeeting you are using. In the 'Applicaton URL' field please specify the domain name of the site where your JoomlaLMS is installed e.g. http://demo.joomlalms.com/. |
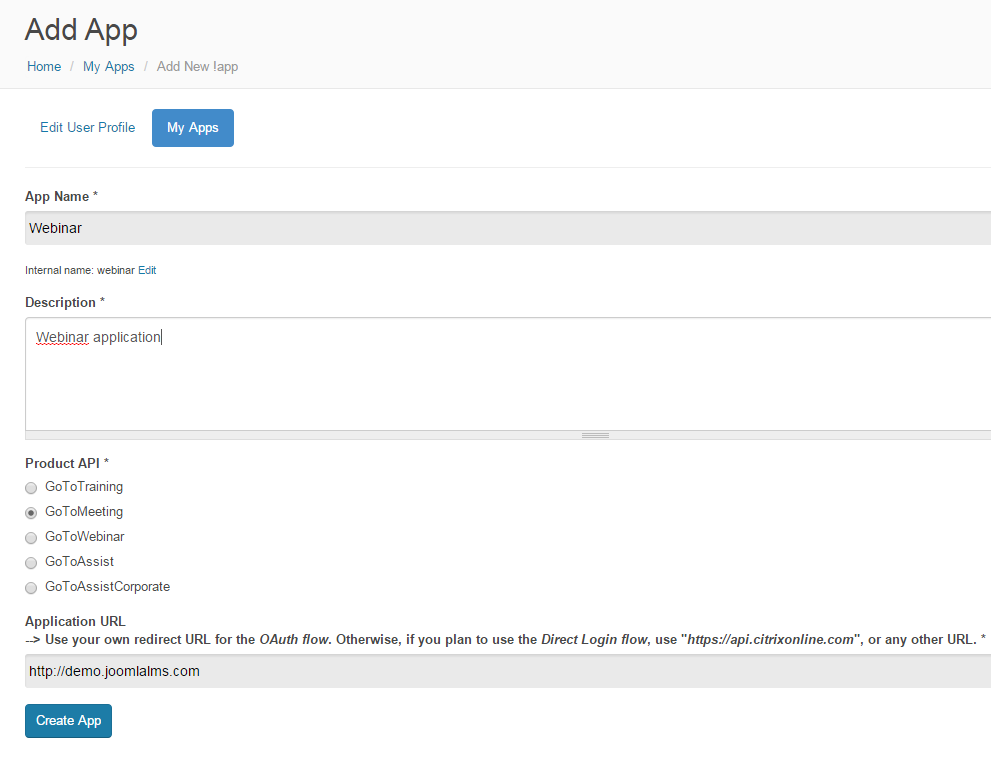
| 5. | Click 'Create App' to complete the procedure. |
| 6. | Click on the newly created application and copy the Consumer Key to clipboard or text file. |
| 7. | Enter your site where JoomlaLMS is installed and go to administrator back-end Components -> JoomlaLMS -> Configuration -> tab Conference -> select Yes for 'Enable conference' and GoToMeeting from the drop-down menu for 'Conference type'. |

| 8. | Go on to back-end Extensions -> Plugin manager -> System -> JoomlaLMS GoToMeeting -> specify the Consumer key in the respective field and save the changes. |
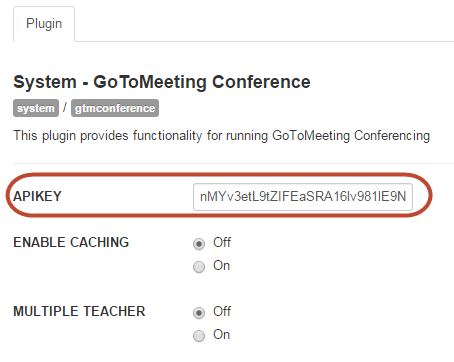
| 9. | Now you can create webinars in JoomlaLMS courses. When you access the Webinars tool of the course for the first time you will be redirected to https://developer.citrixonline.com/ to authorize for the JoomlaLMS work with the created application. When you are redirected please log in and then click Allow to allow JoomlaLMS to work with the GoToMeeting |
Note: Any teacher who has no access to the GoToMeeting account won't be able to use the course Webinars tool.
|
To add a new webinar:
| 1. | Open the Course Home page and click the Webinars icon ( ) in the left course menu. The list of webinars will be displayed: ) in the left course menu. The list of webinars will be displayed: |

Fig. 'Webinars list'
| 2. | On the Webinars page click the 'book here' link and click New ( ) button on the conference booking page: ) button on the conference booking page: |

Fig. 'Webinar booking page'
| 3. | Fill in the fields of the opened form: |
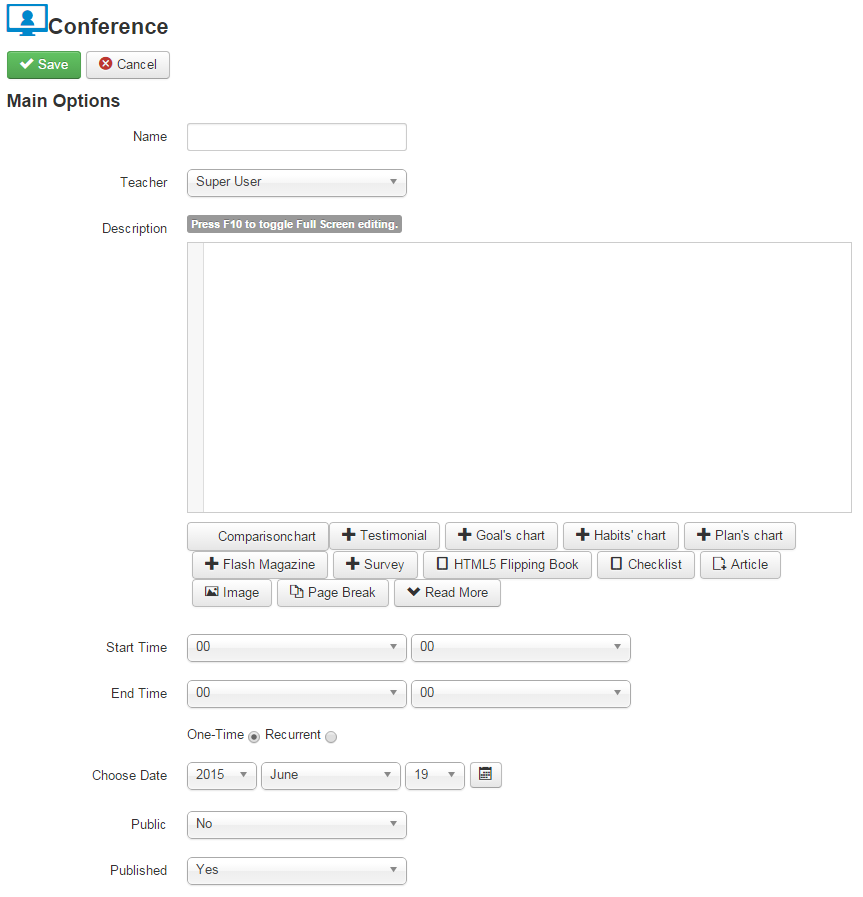
Fig. ‘Booking a Webinar’
Note:
If you want to make the webinar available for Students, make sure that: in the Published field you selected Yes as a value; in the Starting date and Ending date fields the availability period is specified correctly.
|
| 4. | When finished, click Save ( ) button in the top left corner of the form to add a webinar; click Cancel ( ) button in the top left corner of the form to add a webinar; click Cancel ( ) to discard changes and close the form. ) to discard changes and close the form. |
To manage planned webinars, go to the conference booking page and use Actions ( ) button to Edit or Delete planned webinars and work with Archive of records, synchoronize webinars or view Past bookings. ) button to Edit or Delete planned webinars and work with Archive of records, synchoronize webinars or view Past bookings.
If you have any questions or suggestions regarding our help documentation, please post them to our ticket system.
|