|
For each quiz you may apply a certain certificate that can be printed by the Students if they pass the quiz. The system allows you to create customizable certificates containing Students’ personal data.
To work with the list of quiz certificates:
| 1. | Enter the necessary course and click the Quizzes icon ( ) in the left course menu. The system will display a list of quizzes for the given course. ) in the left course menu. The system will display a list of quizzes for the given course. |
| 2. | Open the Certificates tab ( ) in the top menu. A list of available certificates will appear: ) in the top menu. A list of available certificates will appear: |
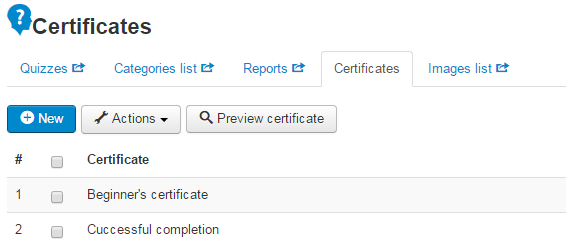
Fig. ‘List of Quiz Certificates’
To manage Certificates in the list, use Actions button ( ) at the top of the list. ) at the top of the list.
Creating Quiz Certificates
|
The system allows you to design quiz certificate yourself: you may use any background image or text that you need.
To create a new quiz certificate:
| 1. | Enter the necessary course and click the Quizzes icon () in the left course menu. The system will display a list of quizzes for the given course. |
| 2. | Open the Certificates tab () in the top menu. A list of available certificates will appear. |
| 3. | Click the New ( ) button at the top of the list to display the following form: ) button at the top of the list to display the following form: |
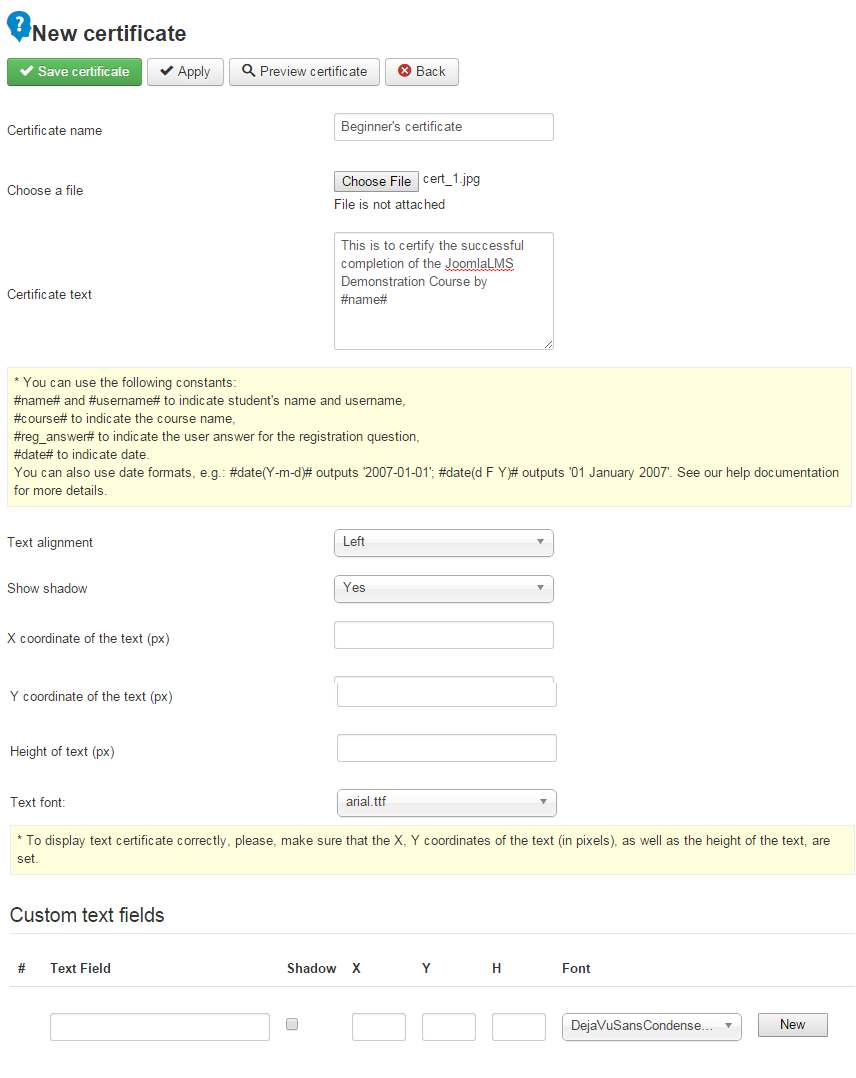
Fig. ‘Creating a Quiz Certificate’
Fill in the form fields as described in the table below:
Field
|
Step
|
Certificate name
|
Enter the certificate name here.
|
Choose a file
|
Click the Browse button to specify a path to an image file on your computer. Uploaded image will be used as a background of the certificate.
|
Certificate text
|
Enter the text that should be displayed on the quiz certificate. If necessary, use variables.
|
Text alignment
|
Select how the certificate text should be displayed:
- Left-aligned,
- Centered,
- Right-aligned.
|
Show shadow
|
If you want to apply a shadow effect to the certificate text, select Yes. Select No to leave the text without shadow.
|
X,Y coordinate of the text (px)
|
Set coordinates of the text (in pixels) against the image background (these fields accept whole numbers only).
|
Height of the text (px)
|
Set the height of the text (in pixels) that will be displayed on the certificate (this field accepts whole numbers only).
|
Text font
|
Select the font type for the certificate text.
|
Custom text fields
|
Besides compulsory certificate text field you can add other text fields to the certificate:
- Text Field: enter the text for a custom text field;
- Shadow: if you want to apply a shadow effect to the certificate text, select Yes. Select No to leave the text without shadow.
- X, Y, H: set coordinates of the text (in pixels) against the image background (these fields accept whole numbers only).
- Font: select the font type for the custom text field.
|
| 4. | When finished, click Save ( ) button in the top left corner of the form to add the new certificate; click Cancel ( ) button in the top left corner of the form to add the new certificate; click Cancel ( ) to discard changes and close the form.. ) to discard changes and close the form.. |
The Certificate text field allows you to use the following variables (the variables will be replaced by specific data later on for each particular Student):
Variable
|
Description
|
#name#
|
When the certificate is generated, the #name# is automatically changed to the name of the user who did the quiz.
|
#course#
|
When the certificate is generated, the #course# variable is automatically changed to the name of a corresponding course.
|
#reg_answer#
|
When the certificate is generated, the #reg_answer# variable is automatically changed to the answer that the Student entered when s/he was registering at the course.
Note: Use this variable only if the course option Additional registration info is enabled.
|
#date#
|
When the certificate is generated, the #date# variable is automatically changed to the date when the certificate was issued.
Note: For the #date# variable you can use various date formats, for example:
- #date(Y-m-d)# will be changed to 2007-01-01,
- #date(d F Y)# will be changed to 01 January 2007.
|
Editing Quiz Certificates
|
To edit a quiz certificate that was earlier added to the system:
| 1. | Enter the necessary course and click the Quizzes icon () in the left course menu. The system will display a list of quizzes for the given course. |
| 2. | Open the Certificates tab () in the top menu. A list of available certificates will appear. |
| 3. | Select a check box next to the certificate that you want to modify and click the Edit certificate icon ( ) in the Actions dropdown above certificates list. ) in the Actions dropdown above certificates list. |
| 4. | Modify certificate properties as described in the Creating Quiz Certificates section. |
Previewing Quiz Certificates
|
A Teacher can view certificates that were earlier added to the system. To do so:
| 1. | Enter the necessary course and click the Quizzes icon () in the left course menu. The system will display a list of quizzes for the given course. |
| 2. | Open the Certificates tab () in the top menu. A list of available certificates will appear. |
| 3. | Select a check box next to the certificate that you want to view and click the Preview certificate icon ( ) in the Actions dropdown above certificates list. The system will open the certificate in a new browser tab. ) in the Actions dropdown above certificates list. The system will open the certificate in a new browser tab. |
When a Student does a quiz, his/ her answers are saved and included into a quiz report. A Teacher can check the report later on to see Student’s answers. Each attempt to do the quiz generates one Report.
To view the list of quiz reports (that is to view how many times Students tried to do the quiz):
| 1. | Enter the necessary course and click the Quizzes icon () in the left course menu. The system will display a list of quizzes for the given course. |
| 2. | Open the Reports tab () in the top menu. A list of reports will appear: |
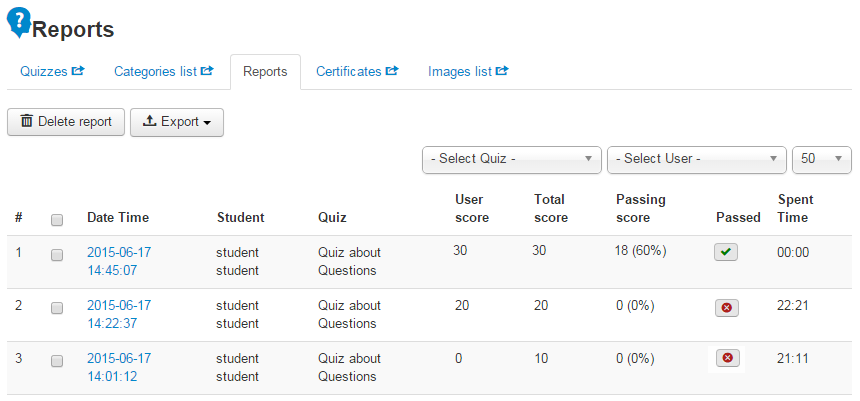
Fig. ‘List of Reports’
Each list row contains information on one attempt to do the quiz:
| • | Date and time when the quiz was started; |
| • | Student who did the quiz; |
| • | Total score of the quiz; |
| • | Passing score of the quiz in percents; |
| • | Icon defining whether the user passed the quiz or not; |
| • | Time spent by the user to do the quiz. |
By default the system displays reports for all users. However you can use the filter drop-down lists under the top menu to define the quiz and the user who tried to do the quiz.
Tip: This report is available from the Tracking section too.
|
To view detailed statistics on Student’s answers, choose the necessary report from the list and click the Date Time link in a corresponding list row. You will be able to see statistics on the quiz questions:
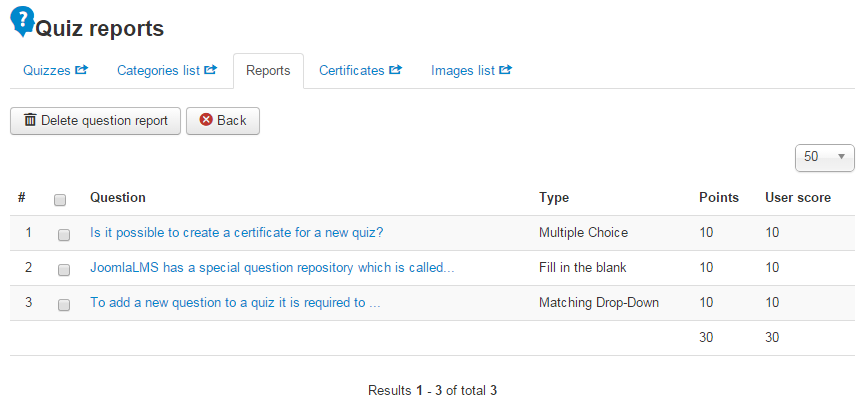
Fig. ‘Quiz Questions Statistics’
To delete statistics on a particular question from the report, select a check box next to the required question and click the Delete question report ( ) button. ) button.
To preview statistics and Student’s answer to a particular question, click the question link in the list. An example of the question report is given below:

Fig. ‘Question Report’
Images used in quiz questions should be uploaded to the Images list.
To view the list of images already uploaded to the course:
| 1. | Enter the necessary course and click the Quizzes icon () in the left course menu. The system will display a list of quizzes for the given course. |
| 2. | Open the Images list tab () in the top menu. A list of all Images will appear: |
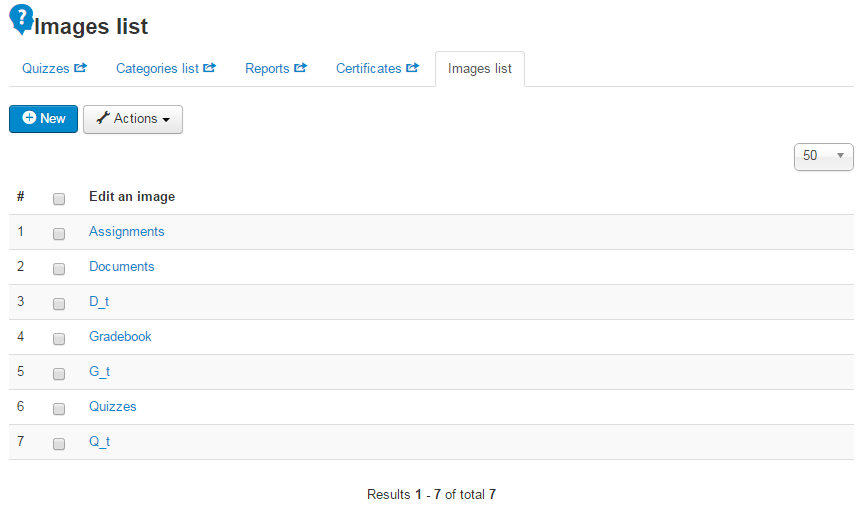
Fig. ‘Images list’
To upload new image click the New () button at the top of the list and choose file from your computer.
To edit or delete uploaded image, use Actions button () at the top of the page.
If you have any questions or suggestions regarding our help documentation, please post them to our ticket system.
|