|
The learning process may be facilitated if you use various documents. The Documents section of the system allows you to create a repository of files that can be downloaded or viewed online by your Students.
To work with course documents, enter the course and click the Documents icon ( ) in the left course menu. The system will display the list of course folders and documents organized as a tree structure. Each folder or document in the list is characterized by its name, dates when it is available for Students and description. ) in the left course menu. The system will display the list of course folders and documents organized as a tree structure. Each folder or document in the list is characterized by its name, dates when it is available for Students and description.
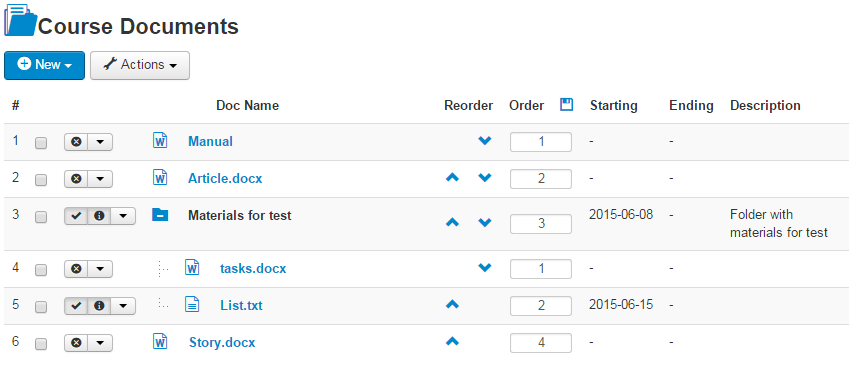
Fig. ‘Course Documents’
To manage folders and documents in the list, use Actions ( ) and Reorder buttons. ) and Reorder buttons.
To view or download a document, click the document name link in the list. Depending on the type of the file, the system will either display the document or will offer it for downloading.
For better organization of your documents you can create folders and subfolders in the documents repository. The folders will be added as a tree-structure allowing you to create a branched hierarchy. The root folder in this structure is always the same – Course Folder.
To add a new folder:
| 1. | Open the Course Home page and click the Documents icon () in the left course menu. |
| 2. | On the Documents page click the New ( ) icon and select New Folder ( ) icon and select New Folder ( ) in the dropdown menu. ) in the dropdown menu. |
| 3. | Fill in the fields of the opened form: |
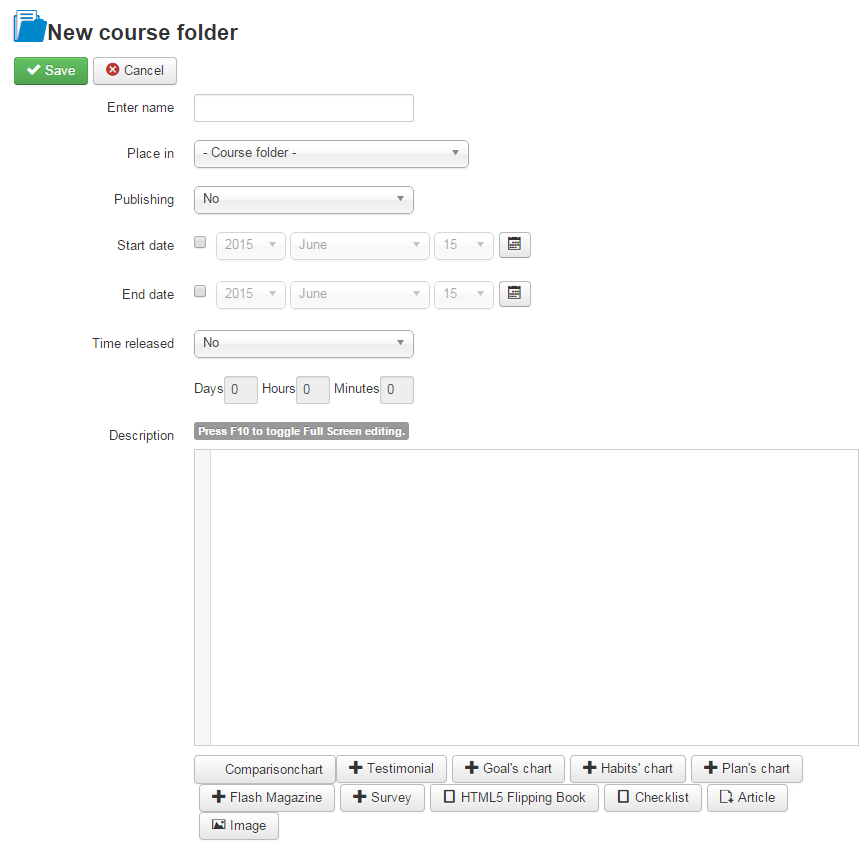
Fig. ‘Creating a New Folder’
Note:
If you want to make the folder available for Students, make sure that: in the Publishing field you selected Yes as a value; in the Starting date and Ending date fields the availability period is specified correctly (if specified).
|
| 4. | When finished, click Save ( ) button in the top left corner of the form to add a folder; click Cancel ( ) button in the top left corner of the form to add a folder; click Cancel ( ) to discard changes and close the form. ) to discard changes and close the form. |
To modify properties of an already existing folder:
| 1. | Open the Course Home page and click the Documents icon () in the left course menu. |
| 2. | Select a check box next to the folder that you want to modify and click the Edit icon ( ) in the dropdown menu. ) in the dropdown menu. |
| 3. | Modify folder properties and save changes. |
Note:
You can set custom permissions for folders when editing them (PRO version only). Select the user role for which you need to set custom permissions from the drop-down menu and check the boxes corresponding to the actions that users with this role will be able to do with this folder.
|

Fig. ‘Editing a Folder’
Creating and Uploading Documents
|
The system offers you three options when creating/uploading documents in the repository:
| • | Uploading single files that can be later downloaded by your Students. |
| • | Uploading a set of files as one ZIP package (this can be useful if you have a number of HTML documents that are associated with the help of internal links: in this case you will have to specify the Startup file (the file that will be opened first when a student clicks the package link). When the package is uploaded, files are automatically extracted). |
| • | Adding a document that will be visible in the online mode only. |
To perform any of the operations mentioned above:
| 1. | Open the Documents page and click the Documents icon () in the left course menu. |
| 2. | On the course home page click the New () icon and select New Folder ( ) in the dropdown menu. ) in the dropdown menu. |
| 3. | Fill in the fields of the opened form: |
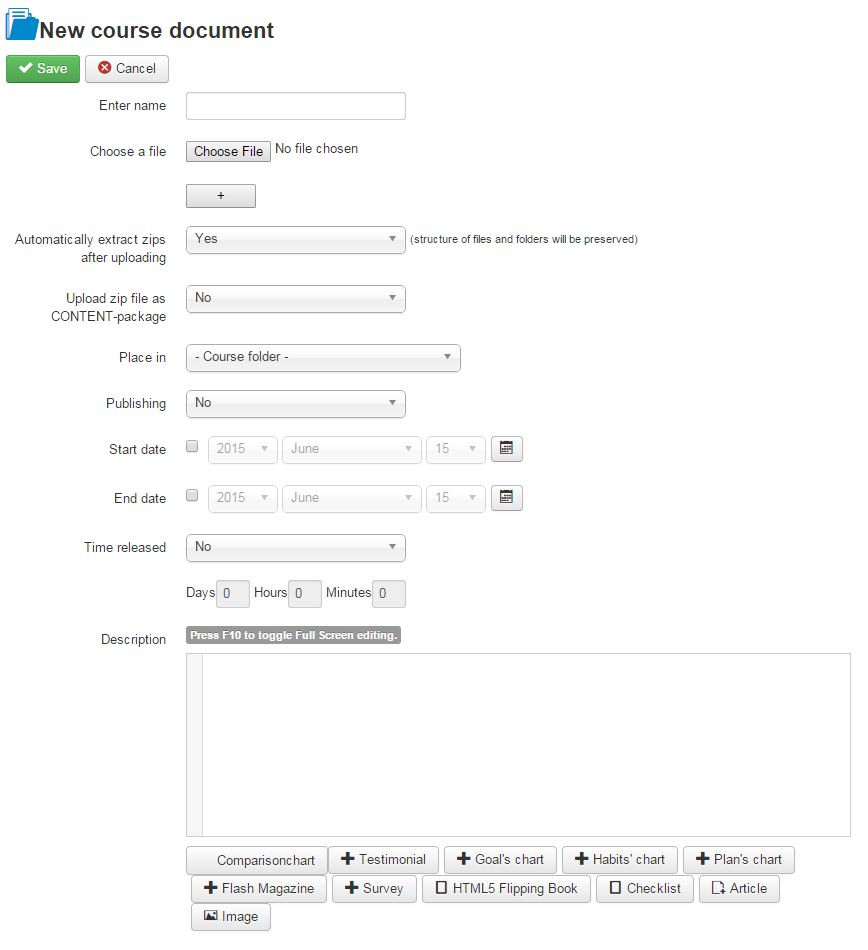
Fig. ‘Creating a New Document’
To upload a single document, click the Choose File button and specify the path to the file on your computer. Click the '+' icon to upload more than one document at a time.
To create a document that will be visible in the online mode only, don't choose any file from your computer; make sure that you enter the contents of the document in the Description field.
To upload a set of files as one ZIP package select a ZIP package from your computer and enable 'Upload zip file as CONTENT-package' option.
| 4. | When finished, click Save () button in the top left corner of the form to add new document; click Cancel ( ) to discard changes and close the form. ) to discard changes and close the form. |
To modify properties of an already existing document:
Open the Course Home page and click the Documents icon () in the left course menu.
On the course home page select a check box next to the necessary document and click the Edit icon () in the bottom menu.
Modify document and save the changes.
Adding Documents from the File Library
|
To add a document from the File Library:
| 1. | Open the Course Home Page and click on the Documents icon () in the left course menu. |
| 2. | On the Documents page click the New () icon and select Add a document from the Library ( ) in the dropdown menu. ) in the dropdown menu. |
| 3. | Check the box corresponding to the document you want to add to the course and fill in the form: |
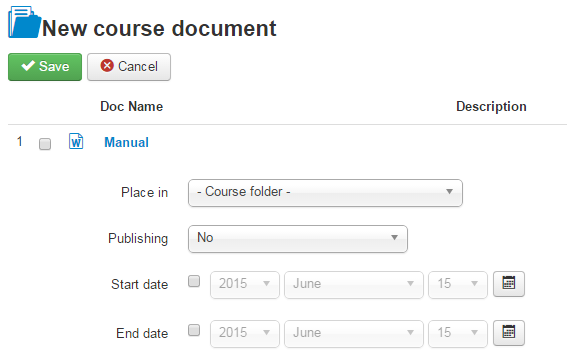
Fig. 'Adding Document from the Library'
| 4. | When finished, click Save () button in the top left corner of the form to add a new document; click Cancel () to discard changes and close the form. |
If you have any questions or suggestions regarding our help documentation, please post them to our ticket system.
|